


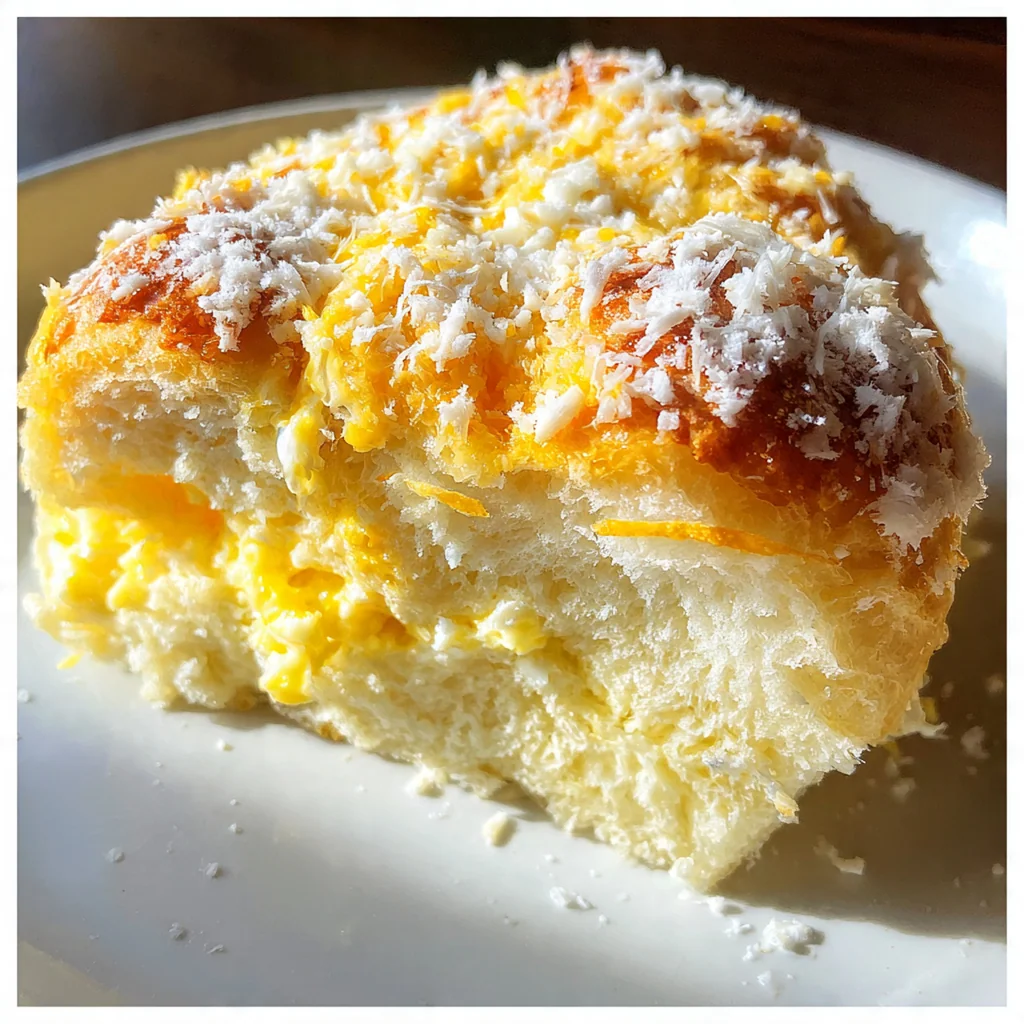
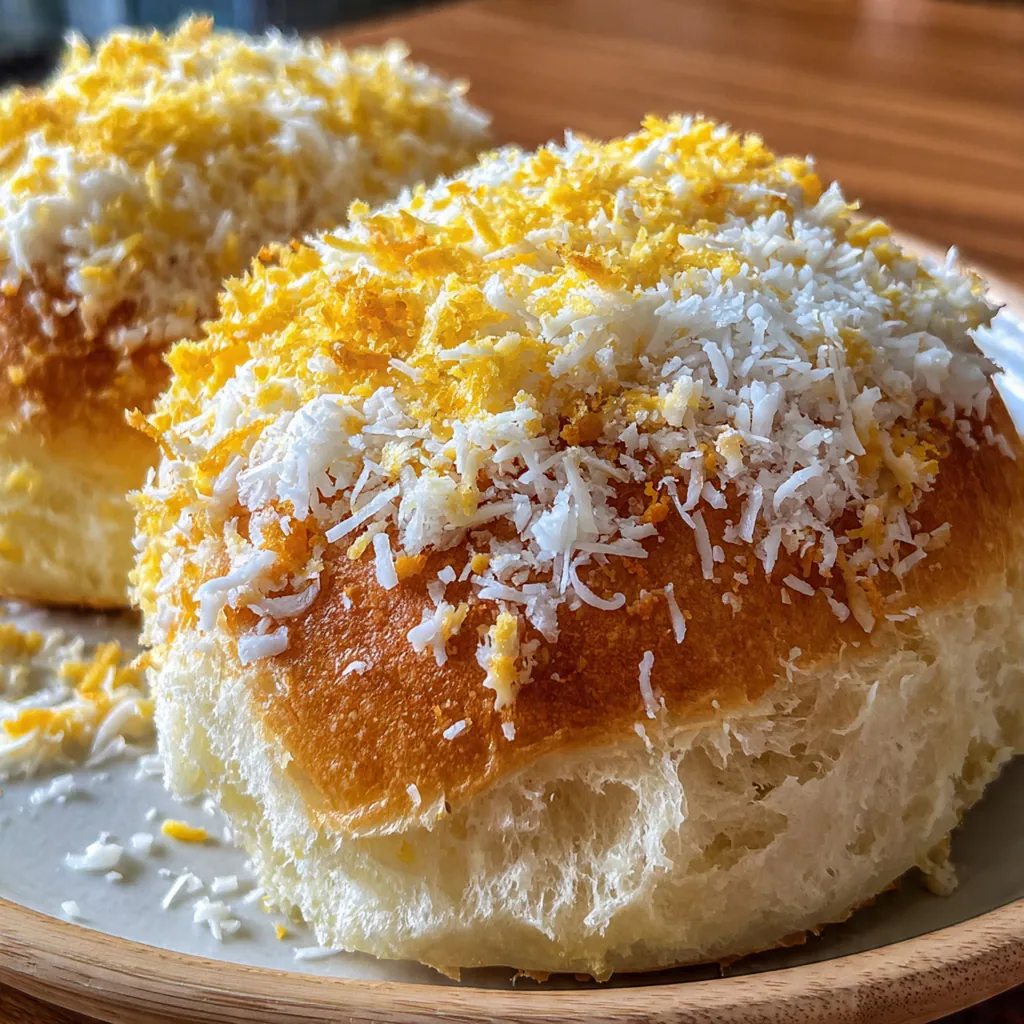
Homemade Classic Ensaymada Bread holds a special place in my heart, a sweet and buttery Filipino pastry that’s as much about tradition as it is about taste. This authentic recipe guides you through making a dozen soft, brioche-like buns that will fill your kitchen with the most incredible aroma. It’s the kind of project that feels deeply satisfying, turning simple ingredients into something truly spectacular. I love how it brings a piece of Filipino hospitality right to your table, perfect for a weekend baking adventure.
Why You'll Love This Recipe
- The impossibly soft, pillowy texture that just melts in your mouth
- The perfect balance of sweet sugar and savory, cheesy topping
- It’s an impressive bake that feels like a special occasion treat every time
- The buns freeze beautifully for a make-ahead breakfast or snack
- You just can’t beat that first warm, buttery bite
Ingredients You’ll Need
- Warm whole milk: Activates the yeast gently and enriches the dough, creating a tender crumb. Make sure it’s just warm to the touch, not hot.
- Active dry yeast: The essential leavening agent that gives ensaymada its airy lift. A quick bloom in warm milk proves it’s alive and ready.
- Granulated sugar: Sweetens the dough and feeds the yeast for a good rise. It also creates that signature sugary crunch on top.
- Bread flour: Has a higher protein content than all-purpose for a chewier, more structured dough that still stays beautifully soft.
- Large eggs at room temperature: Bind the dough and add incredible richness and color. Room temp eggs mix in more evenly.
- Unsalted butter softened: Worked into the dough for a luxurious, brioche-like flavor and texture. It makes the crumb tender and flavorful.
- Salt: Balances the sweetness and strengthens the gluten structure. It’s the quiet flavor enhancer you don’t want to skip.
- Unsalted butter melted: Brushed on after baking for a glossy, buttery sheen and to help the toppings stick perfectly.
- Grated Edam or cheddar cheese: The classic savory topping that melts slightly into the warm butter and sugar. Edam is traditional, but a good cheddar works wonders.
How to Make It
Activate the Yeast:
Begin by combining the warm milk, yeast, and a tablespoon of sugar in your large bowl. Give it a gentle stir and let it sit for about ten minutes. You’re looking for a frothy, creamy layer on top which tells you the yeast is active and ready to give your Classic Ensaymada Bread its lift.
Mix the Dough:
Add the rest of the sugar, bread flour, eggs, softened butter, and salt to the yeast mixture. Stir it all together with a sturdy spoon or your stand mixer’s dough hook until it forms a rough, shaggy ball. It’ll look messy at first, but that’s exactly what you want.
Knead to Smoothness:
Turn that shaggy dough out onto a lightly floured counter. Now you knead for a good eight to ten minutes by hand, pushing and folding until it transforms. You’ll know it’s done when it’s smooth, elastic, and only slightly tacky but doesn’t stick to your hands.
First Rise:
Place your beautiful smooth dough into a greased bowl, turning it once to coat. Cover it with plastic wrap or a damp towel and tuck it in a warm spot. Let it rise until it’s doubled in size, which takes about an hour and a half. This slow rise builds flavor and texture.
Shape the Buns:
Punch down the dough gently to deflate it, then turn it out and divide into twelve equal pieces. Roll one piece into a long rope, then coil it into a tight spiral, tucking the end underneath. Repeat with all the pieces, spacing them out on your lined baking sheet.
Second Rise:
Cover your shaped buns loosely and let them rise again until they’re puffy and nearly doubled. This second, shorter rise is what ensures your Classic Ensaymada Bread bakes up light and airy instead of dense. Don’t rush this part.
Bake to Golden:
While the buns proof, preheat your oven. Bake them until the tops are a lovely, light golden brown, rotating the pan halfway through for an even bake. That golden color is your cue that the inside is cooked through and fluffy.
Brush and Top:
Let the baked ensaymada cool for just five minutes on the sheet. While they’re still wonderfully warm, brush the tops generously with all that melted butter. The warm buns will drink it right in, creating the perfect sticky surface for your toppings.
Finish with Sugar and Cheese:
Sprinkle the buttered tops evenly with sugar, then shower them with the grated cheese. Give the cheese a gentle press so it adheres to the warm, buttery surface. Now they’re ready to serve and absolutely impossible to resist.
You Must Know
- Bread flour is non-negotiable for that perfect chewy-soft texture
- Room temperature ingredients are key for a happy, rising dough
- The second rise is your secret to incredibly light buns
- Brush with butter while the ensaymada are still warm from the oven
- They truly are best enjoyed the same day they’re baked
Storage Tips
Your freshly baked Classic Ensaymada Bread is best enjoyed the day it’s made, but you can keep leftovers in an airtight container at room temperature for up to two days. For longer storage, I wrap each bun individually in plastic wrap and freeze them for up to a month. To revive them, just thaw at room temperature and pop them in a toaster oven or microwave for a few seconds to bring back that soft, just-baked feel. They won’t be quite as perfect as day one, but they’re still a fantastic treat.
Ingredient Substitutions
If you can’t find bread flour, you can use all-purpose flour, but your buns might be a bit less chewy and structured. For the cheese, Edam is traditional, but a good sharp cheddar or even Gouda will give you that lovely savory contrast. In a pinch, you could use instant yeast instead of active dry; just mix it directly with the dry ingredients and use slightly warmer milk. For a dairy-free version, swap the milk and butter for your favorite plant-based alternatives and use a dairy-free cheese shred, though the flavor profile will naturally shift.
Serving Suggestions
I love serving Classic Ensaymada Bread warm alongside a big mug of rich, Filipino-style hot chocolate or a strong cup of coffee for the ultimate merienda experience. They also make a fantastic sweet counterpoint to savory dishes like adobo or garlic rice at brunch. For a simple treat, just enjoy one on its own with a piece of fresh fruit, letting that buttery, cheesy flavor shine. No matter how you serve them, they bring a little bit of celebratory comfort to any table.
Cultural Context
Classic Ensaymada Bread is a cornerstone of Filipino merienda culture, the beloved afternoon snack that’s as much about connection as it is about sustenance. Its roots trace back to Spanish ensaimada, a Mallorcan pastry, but the Filipino version has carved out its own identity with its soft brioche-like dough and iconic butter, sugar, and cheese topping. You’ll find it at every celebration, from family gatherings to town fiestas, symbolizing warmth and generosity. Mastering this recipe at home is like keeping a delicious piece of that tradition alive, sharing the simple joy of a perfectly baked bun with those you care about.
Pro Tips
- A tablespoon of lard in the dough adds incredible traditional richness
- Knead until the dough passes the windowpane test for the best texture
- Use a kitchen scale to divide the dough for perfectly even buns
- Let the shaped buns rise until they look puffy and jiggle slightly
- I always make a double batch because they disappear so fast
Frequently Asked Questions
Traditional Classic Ensaymada Bread uses Edam cheese (queso de bola) for its mild, slightly nutty flavor and excellent melting quality. If you can’t find Edam, a mild cheddar or Gouda works perfectly as a substitute, providing the same savory contrast to the sweet, buttery bread.
Absolutely! You can prepare the dough through the first rise, then punch it down, cover tightly, and refrigerate overnight. The next day, let it come to room temperature, shape into buns, and proceed with the final proof and bake. Baked ensaymada also freezes well for up to a month.
While bread flour yields the best, chewiest texture, you can use all-purpose flour in a pinch. The ensaymada will be slightly less structured but still delicious. For the softest results, ensure your other ingredients (especially the eggs and butter) are at room temperature to maximize dough development.
The Classic Ensaymada Bread is done when the tops are a beautiful, deep golden brown and sound hollow when lightly tapped. This typically takes 18-20 minutes at 350°F (175°C). The internal temperature should reach 190°F (88°C). Avoid over-baking to keep the buns soft.
Classic Ensaymada Bread is a complete treat on its own, often enjoyed with hot chocolate or strong coffee for breakfast or afternoon merienda. In the Philippines, it’s a festive staple during holidays and special occasions, served alongside other sweet breads and pastries.