


There is nothing quite like the first snowfall to spark a sense of childhood wonder. Making snow ice cream turns that fluffy white magic into a sweet, creamy treat you can eat immediately. It captures the pure nostalgia of winter with just a handful of simple pantry staples. This recipe is the perfect way to celebrate a fresh snowfall right in your own backyard. It’s a unique American tradition that turns nature’s best gift into dessert.
Why You'll Love This Recipe
- You can whip this up in under 15 minutes from start to finish
- No special equipment or cooking required
- It feels like pure magic and kids absolutely love it
- Endlessly customizable with chocolate, candy canes, or berries
- A special memory tied to the first snow of the year
Ingredients You’ll Need
- Clean fresh snow: The main base that creates the fluffy texture. Choose the top layer of fresh powder away from roads for the cleanest taste.
- Whole milk: Provides the creamy liquid base that binds everything together. The fat content creates a richer texture than skim milk.
- Granulated sugar: Sweetens the mixture and balances the cold. Using fine sugar ensures it dissolves easily into the milk.
- Vanilla extract: Adds that classic warm, aromatic ice cream flavor. Pure extract gives the best depth compared to imitation.
- Fine sea salt: Just a pinch enhances all the sweet flavors. It prevents the mixture from tasting flat and one-dimensional.
- Chocolate syrup: An optional topping for rich, decadent swirls. It pairs perfectly with the snowy white base.
- Crushed candy canes: Adds a festive crunch and minty flavor. Perfect for holiday-themed snow ice cream.
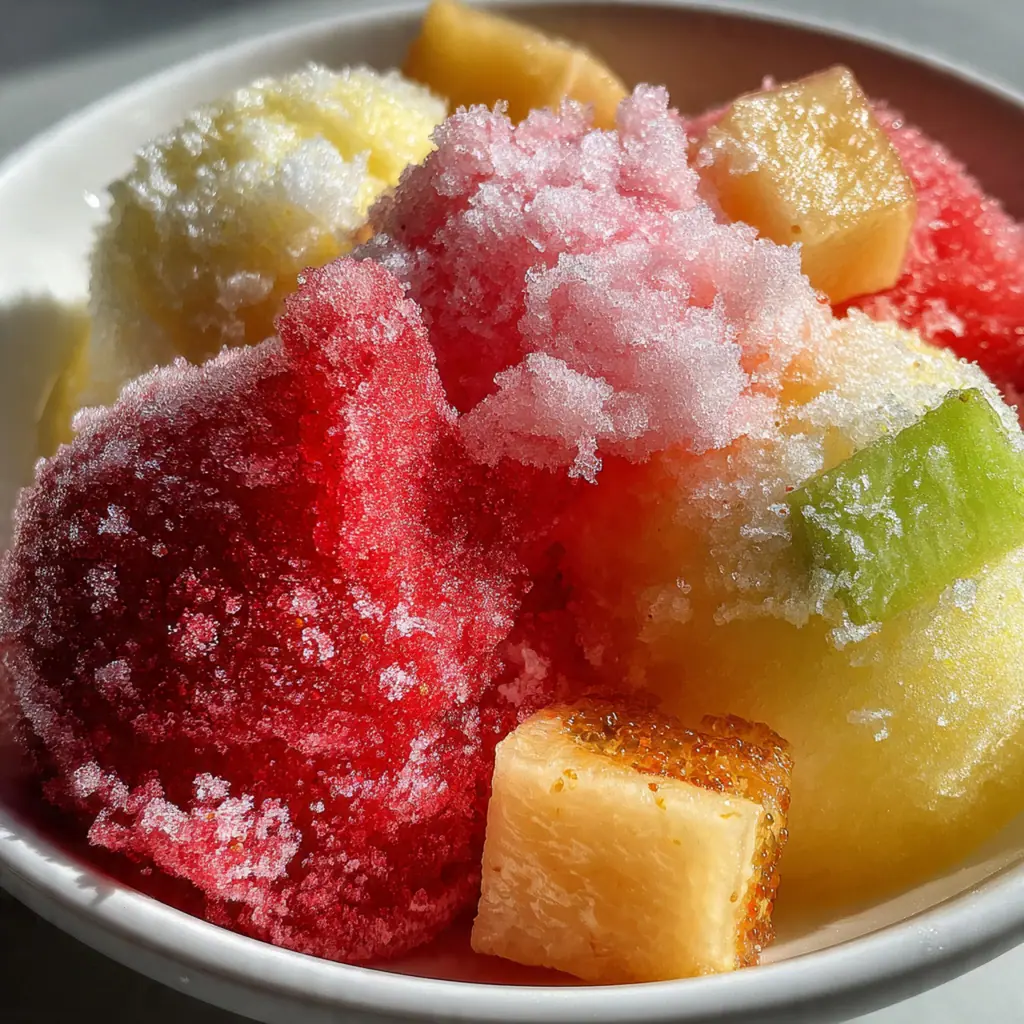
- Fresh berries: Raspberries or strawberries add bright acidity. They cut through the sweetness and add fresh color.
- Rainbow sprinkles: For a fun, colorful presentation. Adds a playful crunch that kids love to sprinkle on top.
How to Make It
Collect The Clean Snow:
Head outside to an untouched area away from roads, driveways, or areas where pets roam. Scoop the top layer of fresh, fluffy snow directly into a large, clean bowl. Immediately pop this bowl into the freezer so it stays cold and solid while you mix up the creamy base.
Prepare The Sugar Base:
In a medium mixing bowl, combine the granulated sugar and fine sea salt. Whisking these dry ingredients together first prevents clumping later on. This ensures the sugar dissolves evenly into the milk without leaving gritty spots.
Make The Creamy Mixture:
Pour the whole milk and vanilla extract into the bowl with the sugar and salt. Whisk vigorously for about 2 minutes until the sugar is completely dissolved. You can test this by rubbing a drop between your fingers—it should feel perfectly smooth with no graininess.
Remove Snow From Freezer:
Take the bowl of snow out of the freezer and place it on your counter. Work quickly now, as the snow will begin to melt the moment it hits the warmer air. Having your milk mixture ready to go is key to success.
Pour And Fold The Milk:
Gradually pour the milk mixture over the snow. Use a rubber spatula or wooden spoon to fold gently after each addition. Don’t stir aggressively; gentle folding keeps the texture light and fluffy.
Reach Soft-Serve Consistency:
Continue adding the milk and folding until you reach a soft-serve ice cream texture. It should be fluffy and hold its shape but not be icy. If it seems too dry and crumbly, add a splash more milk. If it looks too wet and soupy, fold in a bit more clean snow.
Serve Immediately:
Scoop the snow ice cream into chilled bowls for the best texture. It melts much faster than traditional churned ice cream, so don’t wait long. Enjoy the reward of your snowy adventure right away.
Add Your Favorite Toppings:
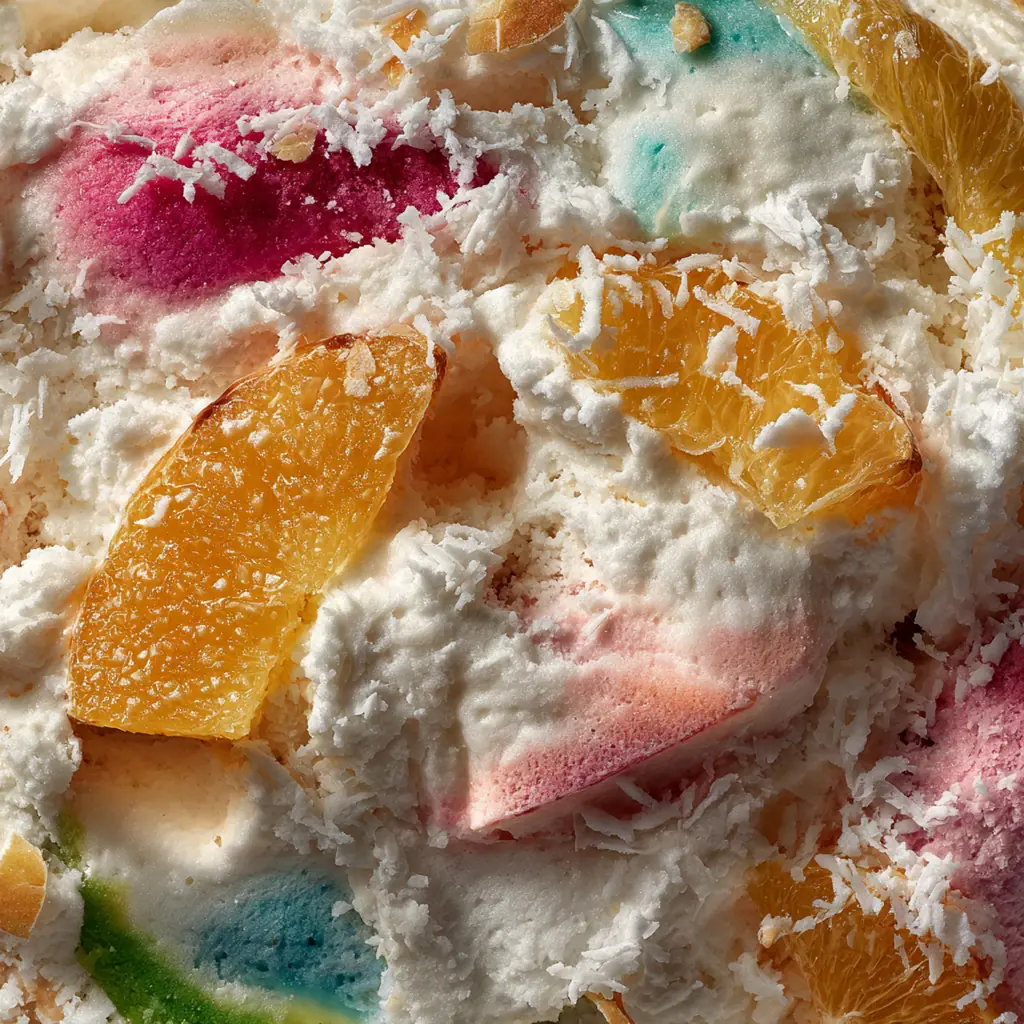
Drizzle with chocolate syrup, sprinkle on crushed candy canes, or add fresh berries. Rainbow sprinkles add a fun pop of color and texture. The toppings are where you can really make this recipe your own.
You Must Know
- The snow must be fresh and clean, collected away from traffic
- Work fast once you add the milk to prevent melting
- If the snow is icy, crush it slightly for a better texture
- Always use a clean bowl and utensils for food safety
- It cannot be stored—enjoy it immediately for the best result
Storage Tips
Snow ice cream cannot be stored or frozen because it will melt and lose its fluffy texture. It must be enjoyed immediately after mixing for the best flavor and consistency. Any leftovers will simply melt into a soupy mess that won’t refreeze properly. Plan to make just enough for your group to enjoy right away. If you have extra snow, you can save it in the freezer for a few hours, but the ice cream itself is best eaten fresh. This is part of the charm—it’s a spontaneous treat that celebrates the moment.
Ingredient Substitutions
If you don’t have whole milk, you can use 2% milk, but the result will be less creamy. For a richer flavor, substitute half-and-half or heavy cream for part of the milk. To make a dairy-free version, use full-fat coconut milk, which adds a lovely tropical note. For a vegan option, any plant-based milk like oat or almond works well, though coconut is the creamiest. If your snow is very icy, you can pulse it in a food processor or crush it with a potato masher to create a finer, fluffier texture. For the toppings, get creative with whatever you have—crushed cookies, caramel sauce, or chopped nuts all work beautifully.
Serving Suggestions
Serve your snow ice cream in chilled bowls or cones to keep it from melting too fast. It pairs wonderfully with a steaming mug of hot chocolate for the ultimate cozy winter afternoon. For a special dessert, serve it alongside a slice of warm apple pie for a delightful temperature and texture contrast. Setting up a snow ice cream bar with various toppings lets everyone customize their own bowl, making it a fun activity for parties. You can also layer it in parfait glasses with crushed cookies or fruit for a pretty presentation. No matter how you serve it, the most important rule is to eat it quickly while it’s still frosty and firm.
Cultural Context
Snow ice cream is a beloved American folk recipe with deep roots in rural communities where winter snow is abundant. It represents the ingenuity of turning a seasonal element into a sweet treat without any special equipment. Generations have passed this simple recipe down, often as a first kitchen project for children eager to play with their food. While similar frozen desserts exist worldwide, the use of fresh snow is uniquely tied to snowy regions in the United States. It captures a specific kind of nostalgia—the excitement of a snow day, the crunch of boots in fresh powder, and the thrill of eating something cold you helped create from the sky. It’s less about precise technique and more about the memory and connection to the season.
Pro Tips
- Collect snow as soon as it starts falling for the cleanest result
- Have all ingredients measured and ready before you add the milk
- For a richer flavor, substitute half and half for part of the milk
- Ask an adult to collect snow if children are involved to ensure safety
Frequently Asked Questions
For Snow Ice Cream, you need fresh, clean snow that hasn’t been on the ground long. Avoid yellow or gray snow, and skip snow that’s been treated with chemicals like sidewalk salt. The best snow is fresh from your yard right after a clean snowfall.
Snow Ice Cream is best enjoyed immediately after making it because snow melts quickly. If you must store it, freeze the mixture right away in a freezer-safe container, but the texture will be denser than fresh-made snow ice cream.
You can use 2% milk or heavy cream for a creamier Snow Ice Cream. For dairy-free options, try coconut milk or oat milk, though the flavor will be slightly different. You’ll still need 1 cup of liquid total.
Snow Ice Cream is ready in 5 minutes of stirring. Look for a soft-serve consistency where the mixture is creamy and fluffy, not icy. The snow should be fully incorporated with no dry patches, and the sugar and vanilla should be completely dissolved.
Snow Ice Cream pairs beautifully with American-style toppings like chocolate syrup, caramel sauce, fresh berries, or crushed cookies. For a fun presentation, serve it immediately in bowls topped with a sprinkle of extra vanilla or a drizzle of hot fudge.