

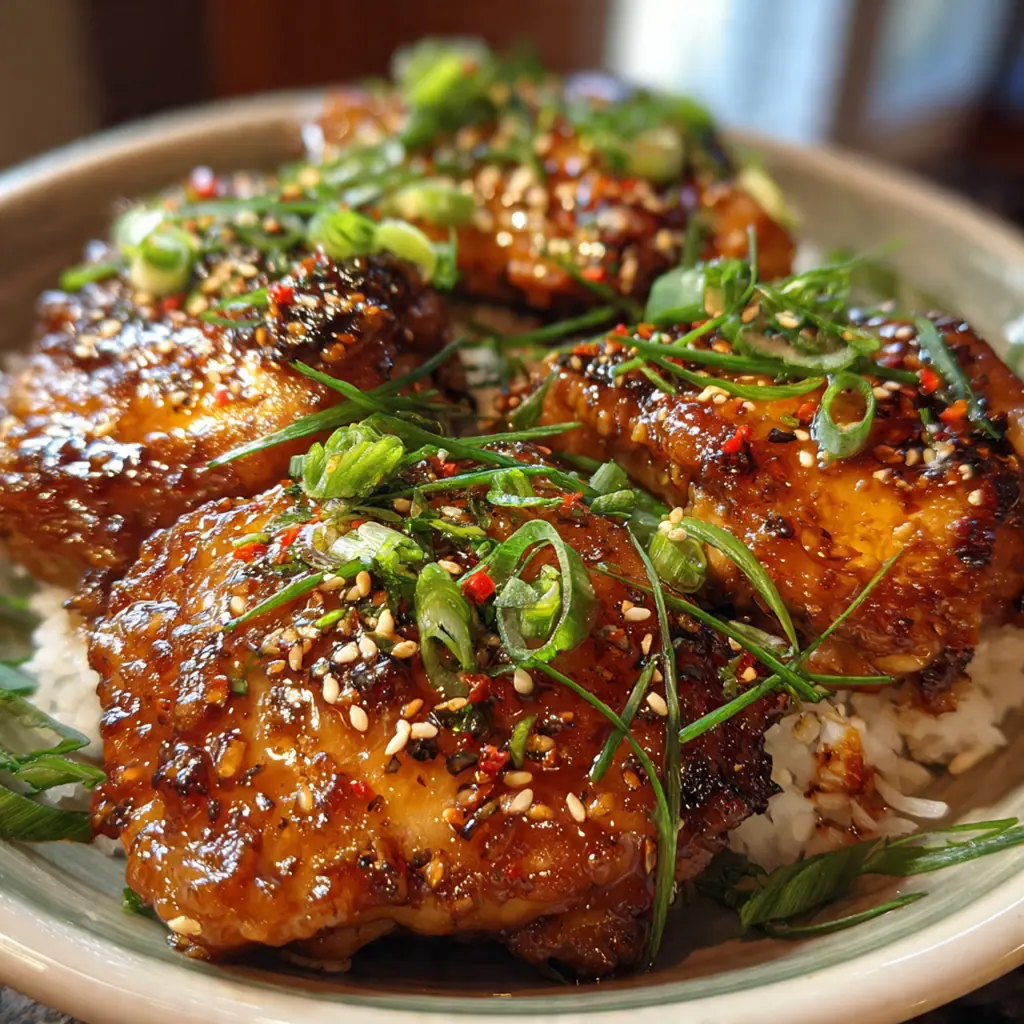
Crispy Honey Garlic Chicken Thighs are the ultimate weeknight savior, delivering restaurant-quality flavor straight from your oven in under an hour. This American-Asian fusion dish captures that perfect sweet and savory balance in a glossy, caramelized glaze that’s downright irresistible. It’s a one-pan wonder built on the simple magic of garlic, ginger, and honey. I love how the sauce bakes into the crispy chicken skin, creating a sticky masterpiece that’s become a staple in my home.
Why You'll Love This Recipe
- You get incredibly juicy chicken with crispy skin and a sauce you’ll want to drink
- It’s a true one-pan meal which means cleanup is a total breeze
- The sweet and savory glaze caramelizes beautifully in the oven
- It’s a guaranteed crowd-pleaser that’s secretly simple to master
- I’ve lost count of how many times I’ve made this for friends
Ingredients You’ll Need
- Bone-in, skin-on chicken thighs: the secret to a juicy, flavorful result with crispy skin that’s impossible to dry out, look for plump pieces with a nice layer of fat.
- Kosher salt: seasons the chicken deeply and helps draw out moisture for that perfect crispy sear.
- Freshly ground black pepper: adds a subtle, aromatic heat that complements the sweetness of the honey.
- Avocado or vegetable oil: a high-heat oil that won’t burn, creating the perfect sear on the chicken skin.
- Garlic: the aromatic backbone of the sauce, minced finely so it melts into the glaze.
- Honey: provides the signature sweet stickiness and helps the glaze caramelize beautifully in the oven.
- Low-sodium soy sauce: delivers the essential savory, umami depth and saltiness, low-sodium lets you control the seasoning.
- Unseasoned rice vinegar: introduces a bright, clean tang that balances the richness and keeps the sauce from being too cloying.
- Sriracha or chili garlic sauce: an optional but fantastic touch for a gentle, warming heat that builds with each bite.
- Fresh ginger: grated finely to infuse the sauce with a spicy, floral kick that’s irreplaceable.
- Cornstarch: the key to a glossy, restaurant-style sauce that clings perfectly to every nook and cranny.
- Water: mixed with the cornstarch to create a slurry that thickens the sauce without lumps.
- Scallions: thinly sliced for a fresh, oniony crunch and vibrant green color as a finishing touch.
- Toasted sesame seeds: add a final nutty aroma and a bit of texture that makes the dish look professionally plated.
How to Make It
Preheat and Prep Your Chicken:
Start by getting your oven ready at 400°F so it’s fully hot when you need it. Pat those chicken thighs completely dry with paper towels. This is your single most important step for achieving crispy, golden-brown skin that won’t steam. Season both sides generously with the salt and pepper.
Sear to Crispy Perfection:
Heat the oil in your large, oven-safe skillet over medium-high heat until it shimmers. Carefully place the chicken in skin-side down and don’t touch it. Let it sear undisturbed for a good 6 to 8 minutes until you get that deep, golden crust. Flip and cook just a couple minutes on the other side, then transfer the chicken to a plate.
Build Your Flavor Foundation:
Reduce the heat to medium and add the minced garlic and grated ginger to the skillet. Sauté them for just about 30 seconds until incredibly fragrant, stirring constantly so they don’t burn. You’re waking up all their aromatic oils right in the flavorful chicken drippings.
Whisk and Simmer the Sauce:
Pour in the honey, soy sauce, rice vinegar, and sriracha if you’re using it. Give it a good whisk, making sure to scrape up all those delicious browned bits stuck to the pan. Let the sauce simmer gently for two full minutes to let the flavors meld together.
Thicken the Glaze:
In a small bowl, whisk the cornstarch and water together until smooth. While continuously whisking your simmering sauce, slowly drizzle in the cornstarch slurry. Keep whisking for about a minute and you’ll see the sauce transform, becoming glossy and thick enough to coat the back of a spoon.
Bake to Sticky Glory:
Return the chicken thighs to the skillet, nestling them skin-side up into the sauce. Spoon a good amount of that glossy glaze over the top of each piece. Carefully transfer the whole skillet to your preheated oven and bake for 20 to 25 minutes. You’ll know it’s done when the chicken is cooked through and the sauce is bubbling thickly around the edges.
Rest and Garnish:
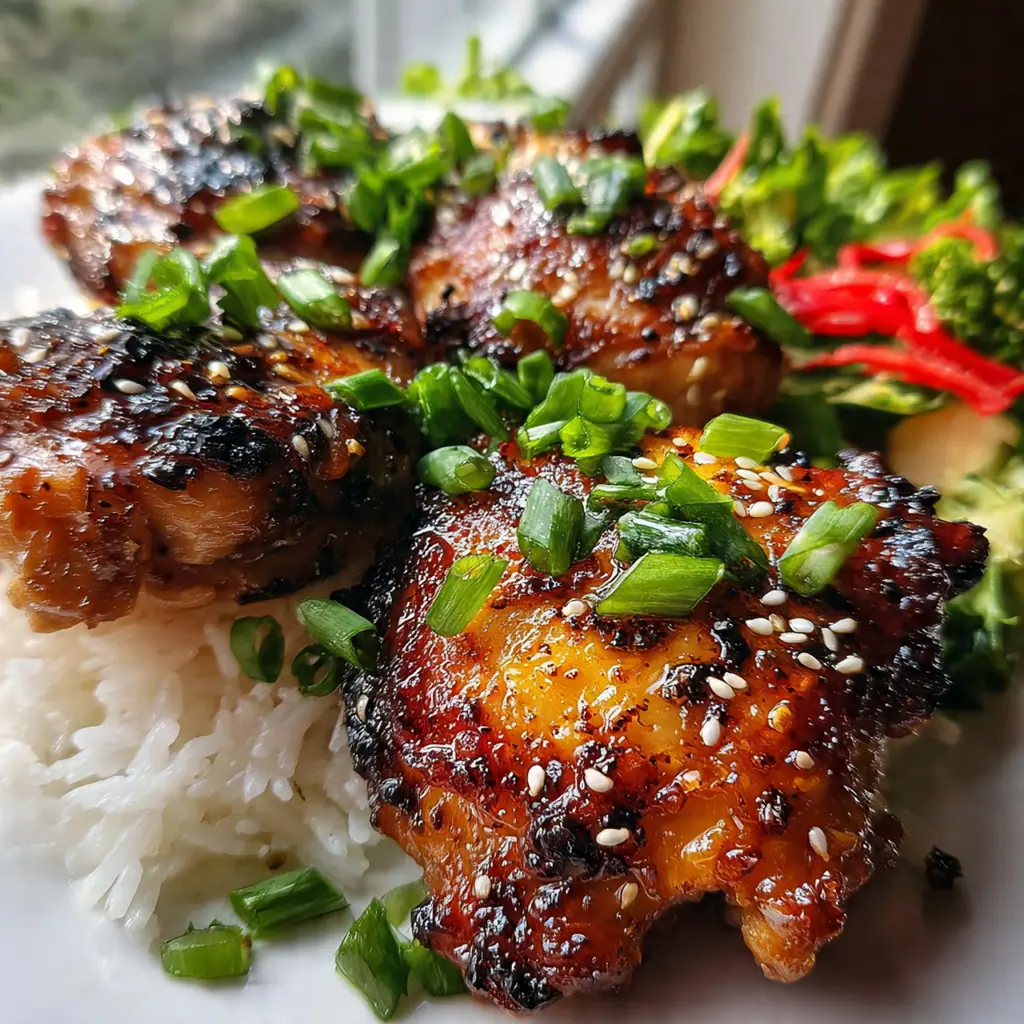
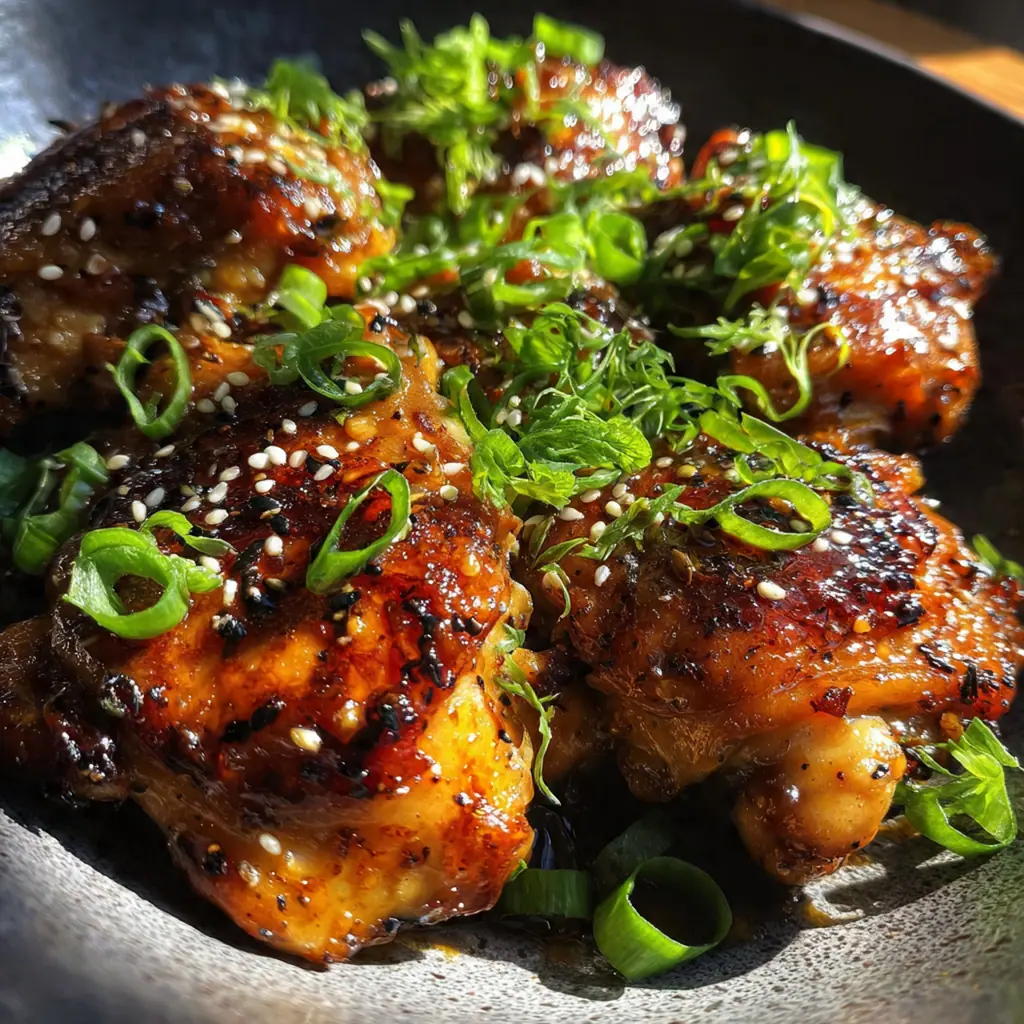
Pull the skillet from the oven and let it sit for a full five minutes. This lets the chicken relax and reabsorb its juices, and the sauce will thicken up a bit more. Finish by scattering the sliced scallions and toasted sesame seeds over the top for that final pop of freshness and texture.
Serve and Enjoy:
Serve this beauty straight from the skillet, making sure to spoon every last drop of that sticky, caramelized sauce over each piece. It’s best enjoyed immediately while the skin is still crisp and the sauce is gloriously warm.
You Must Know
- Dry chicken skin is non-negotiable for the ultimate crispy sear
- Don’t crowd the pan or you’ll steam the chicken instead of browning it
- The sauce will continue to thicken as it cools off the heat
- That final five-minute rest makes all the difference for juiciness
- I always make extra sauce, it’s that good
Storage Tips
You can store any leftovers in an airtight container in the fridge for up to three days. I find the sauce thickens a lot when chilled, so when you reheat, do it gently in a covered skillet over low heat with a tiny splash of water to loosen it back up. You can also microwave it in 30-second bursts. The chicken reheats surprisingly well, though the skin will soften – it’s still packed with flavor.
Ingredient Substitutions
If you don’t have bone-in thighs, boneless skin-on will work but reduce the oven time by about five minutes so they don’t overcook. For a gluten-free version, simply swap the soy sauce for tamari or a certified gluten-free alternative – the flavor is identical. Maple syrup or agave can stand in for honey in a pinch, though the glaze won’t get quite as sticky. Don’t have fresh ginger? Use about a teaspoon of ginger paste from a tube or even a quarter teaspoon of ground ginger, though the fresh zip is worth seeking out.
Serving Suggestions
You absolutely must serve this over something to catch all that glorious sauce. A big bed of fluffy white jasmine rice or steamed brown rice is my classic go-to. For a low-carb option, cauliflower rice works beautifully. To round out the meal, add some simple steamed broccoli, snap peas, or green beans right on the side for a fresh, crunchy contrast to the rich chicken. A quick cucumber salad with a rice vinegar dressing is another refreshing favorite in my house.
Cultural Context
This dish is a beautiful example of American-Asian fusion, taking the fundamental sweet-salty-umami balance found in many East Asian cuisines and applying it to a hearty, oven-roasted American staple. The technique of searing protein and building a glaze in the same pan is a classic Western method, while the sauce itself, built on soy, garlic, ginger, and a touch of vinegar, is straight from the flavor playbook of Chinese cuisine. It’s a delicious testament to how cross-cultural cooking creates some of the most beloved and accessible weeknight dinners.
Pro Tips
- Use a thick, high-quality honey for the best sticky caramelization
- If you don’t own an oven-safe skillet, just transfer everything to a baking dish before the …
- Toss some broccoli florets in the sauce around the chicken before baking for a complete one-…
- Let the chicken sit at room temp for 15 minutes before cooking for more even searing
- I always double the sauce recipe, you’ll thank me later
Frequently Asked Questions
We don’t recommend it for this recipe. Bone-in, skin-on chicken thighs stay incredibly juicy and develop a much better crust. Chicken breasts can dry out during the longer bake time needed for the glaze to caramelize.
Yes, you can prep the sauce a day in advance. Mix the honey, soy sauce, garlic, ginger, rice vinegar, and optional sriracha and store it in the fridge. When ready, just cook the chicken and add the pre-made sauce.
For a gluten-free version, use tamari or coconut aminos. If using regular soy sauce, reduce the salt on the chicken slightly, as it’s saltier than the low-sodium version listed.
The chicken is ready when it reaches 165°F internally, and the skin is deeply golden and crispy. The sauce should be thick, glossy, and bubbling around the thighs in the pan.
Serve over steamed jasmine rice, cauliflower rice, or with roasted broccoli. The sauce is delicious spooned over everything. Garnish with the sliced scallions and sesame seeds for a fresh finish.